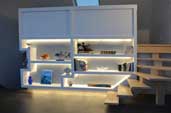
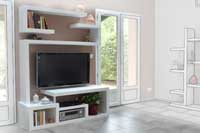
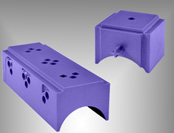
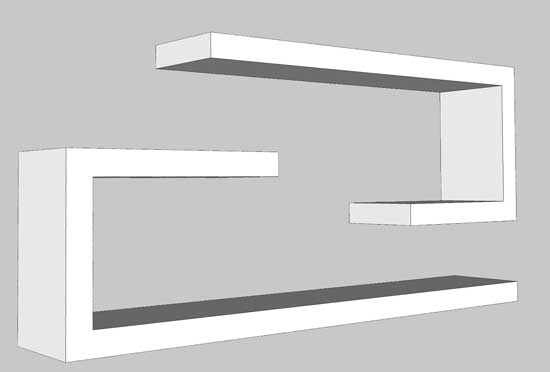
Building with Kinook
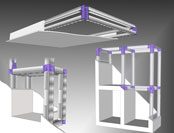
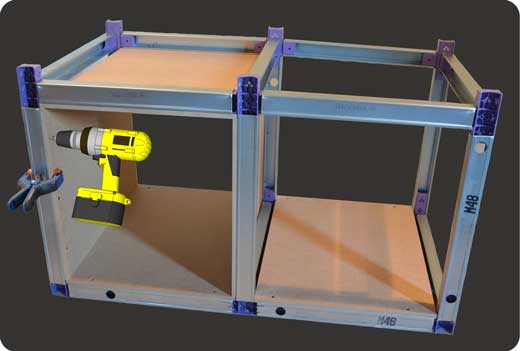
Mounting the structure
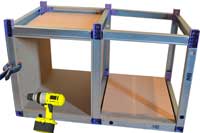
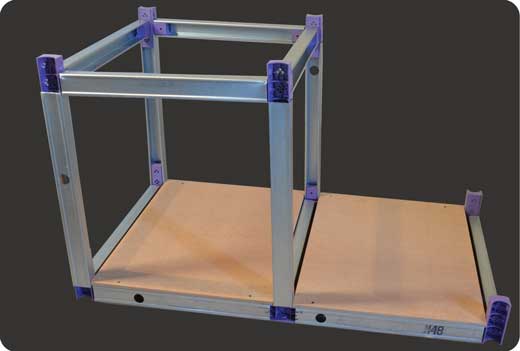
Cut the C-Studs
Use a tool that makes clean cuts - such as a nibbler - to easily insert the Kinook blocks into the C-studs.
Cut the studs slightly shorter (about 1cm), as the Kinook block can slide inside the C-studs, this will allow to adjust the structure to the panel dimensions.
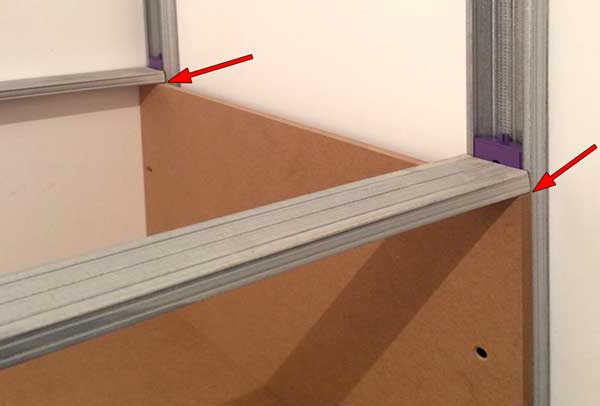
Create a metal frame with Kinook blocks and C-studs. For each angle of the frame, create a shape with Kinook blocks . The shape will assemble the C-studs together. As the C-stud is rectangular
(48x36mm), this gives plenty of options for the shape, more details here.
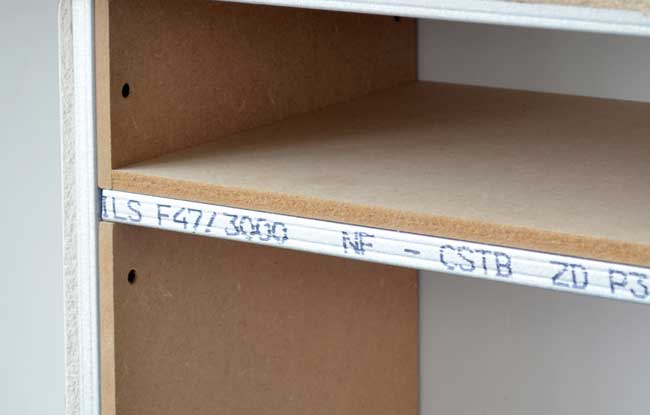
Install the panels
Panel boards can be wood, mdf, plaster board, Fermacell or any other material. They are screwed into the metallic structure. The key rule for successful construction is to cut
the panel boards very precisely. This will ensure that all parts fit well together as the metallic structure is adjusted against the panel boards.
See details on dimensioning panels in the prepare section.
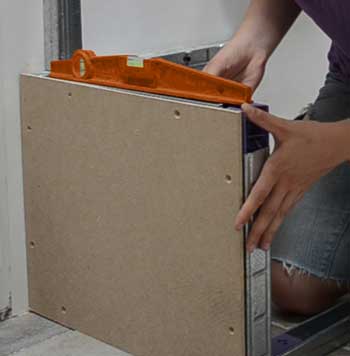
Adjust the structure (before fixing the panels) by sliding the metallic studs into the Kinook blocks until each panel board edge flushes with the metallic stud.
Use shims if needed to adjust precisely the dimensions. Once the adjustements are made, holds the panels firmly in place with a large spring clamp.
Fix the panels into the metallic structure as you go along. Start from the lower level. This will solidify the construction and provide a solid base as you are constructing upward.
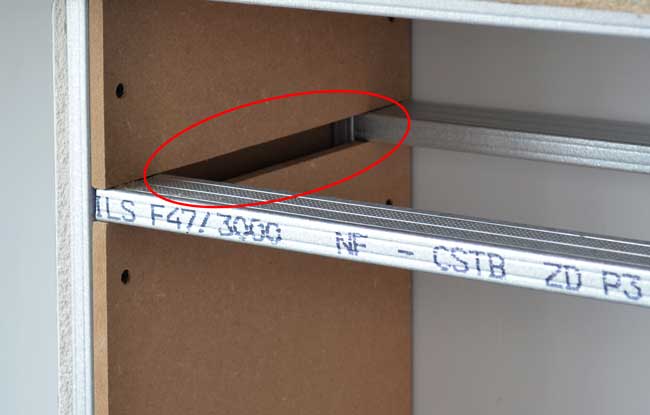
Do not be surprised by the gap between the studs. There is no need to create notches in the vertical panel to fill it.
It will disappear when the horizontal facing plates are positioned horizontally.
Finishing
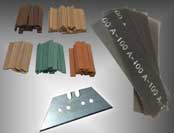
Band the edges
The easiest way to band the edges of the construction is to use boards (or slats) with the same width as the edges. Material can be wood, MDF or any other material. Plinth might be used as well as long as they have the required width.
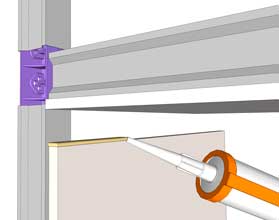
Simply screw the boards into the metallic structure as per video on the side. Apply glue or acrylic wall sealant on the edges before assembling. Remove excess once assembled.
Minimise finishing work
In order to get a beautiful finish, each corner will have to be worked carefully. On constructions such as nooks, bookcases, etc there are many corners requiring attention:
1) Cut panels as precisely as possible.
2) As shown on right picture, apply acrylic wall sealant (or glue) on the edge of each panel before assembling.
Remove excess once assembled. Acrylic wall sealant is quite flexible and will age very well without cracking. It can be easily covered with finishing paint.
Beautiful finish
1) Plug holes and cracks
Once all panels have been installed, plug every hole and crack with jointing compound, filler, or plaster.
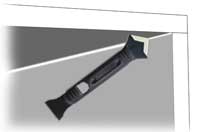
Acrylic wall sealant is useful for corners, apply it with a soft corner knife (used for applying silicone) as per picture on the right.
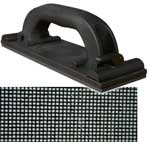
2) Sanding
An abrasive mesh sanding (picture on the right) is a nice alternative to classic paper sanding as it wears out more slowly and brings less dust.
3) Finishing
Apply a finishing coat and sand carefully.
Solid constructions
Kinook blocks do not add solidity to the construction, they serve as guides for assembling the metallic frame. Solidity is provided by the studs and the panel boards.
Once every panel has been screwed onto the metallic structure, the construction is solidified and strengthened.
Solidity can be improved by using stronger material for panel boards (e.g. wood rather than plasterboard) as well as thicker boards
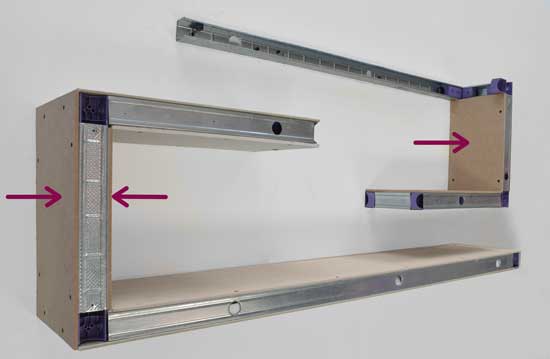
In order to strongly support horizontal shelves, place the vertical panels against the horizontal stud.
Shelves without a floor-based support will require vertical panels. The vertical panel will reinforce the horizontal shelves.
More Ressources
|
|