mezzanine furniture
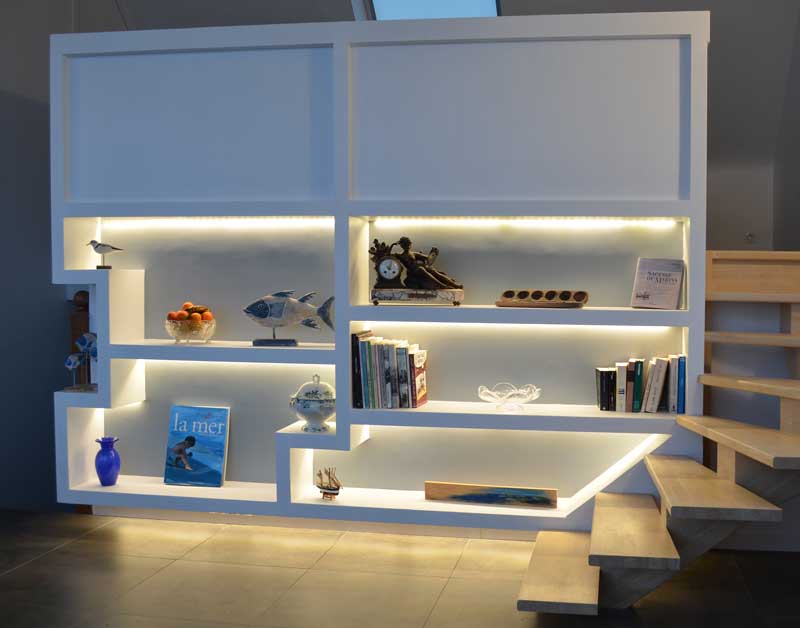
A LARGE BOOKCASE / COUNTER
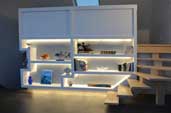
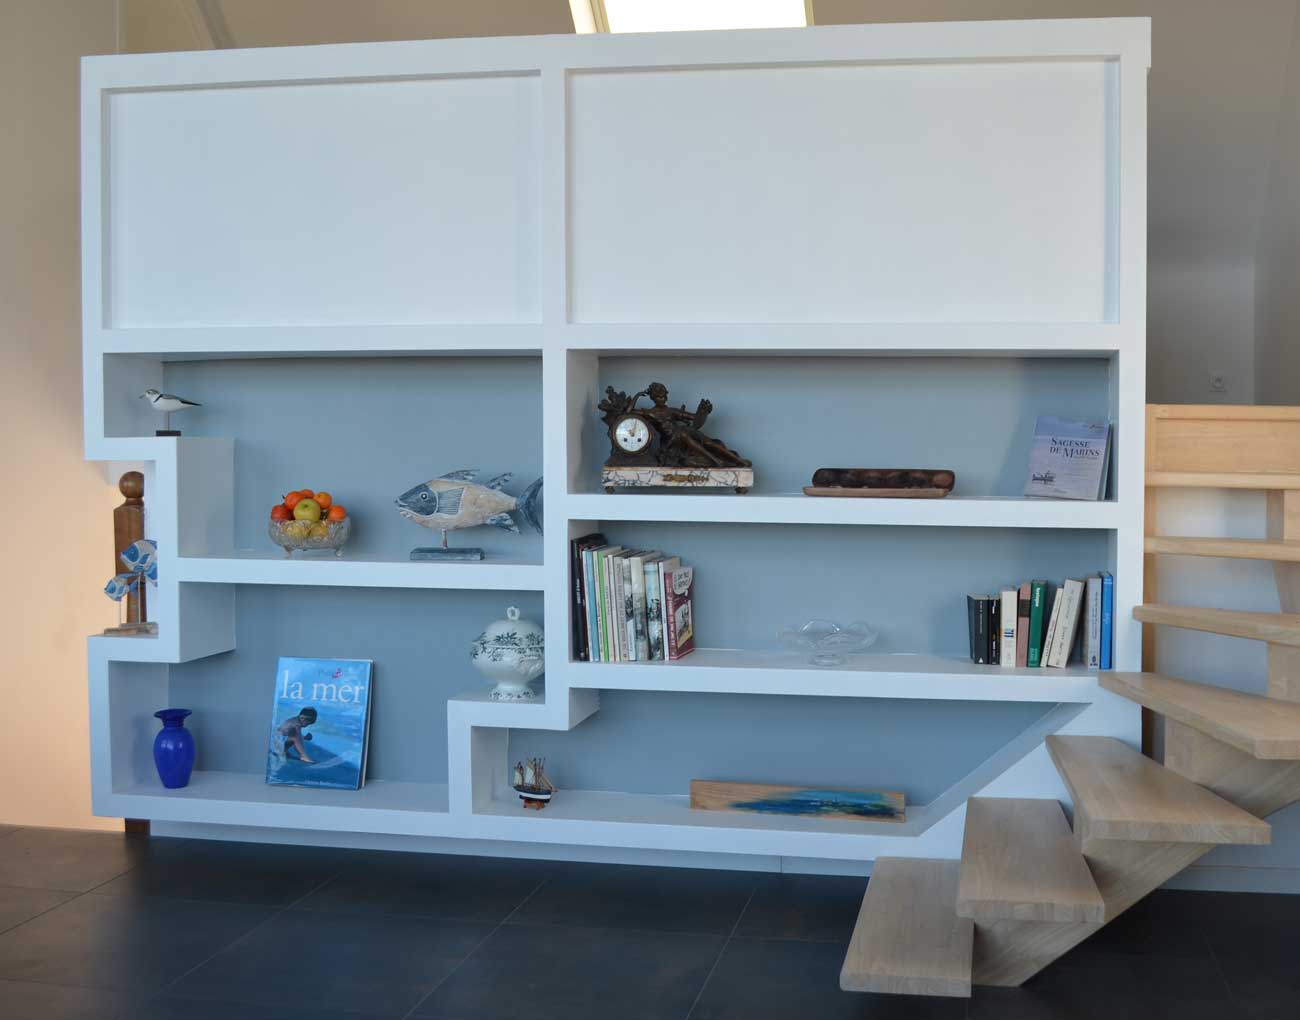
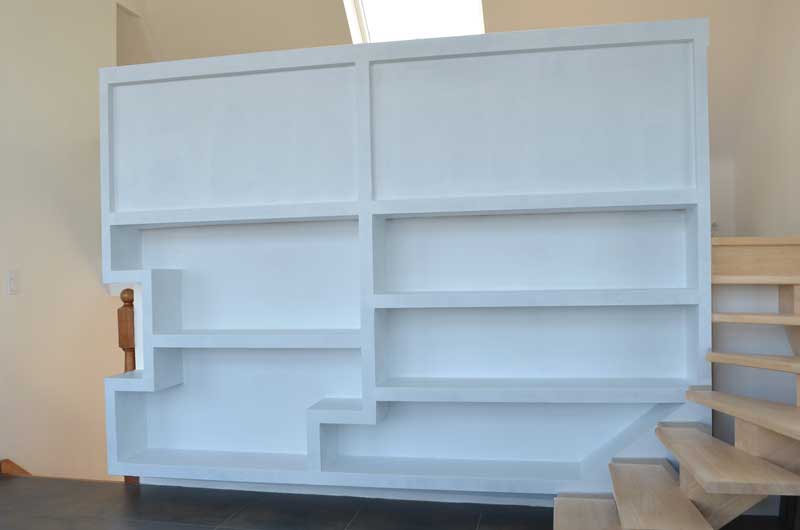
The large shelves with original shapes and thick structures give this construction very contemporary design.
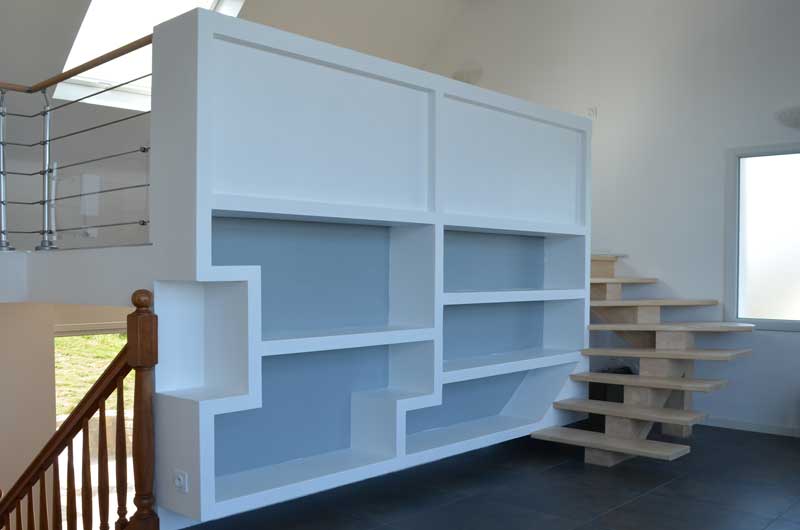
On the mezzanine side, the upper part of the bookcase is a counter and offers a bird's eye view of the living room just below.
The furniture does not rest on the ground which frees up space and gives the construction a very modern and aesthetic style. LED strips have been integrated into the upper parts of each shelves.
 |
There is no particular difficulty for this construction. It will first be necessary to route the electric cables in the hollows of the studs and between the panels. As with any successful Kinook build, cut the panels precisely. |
MEZZANINE SIDE VIEW
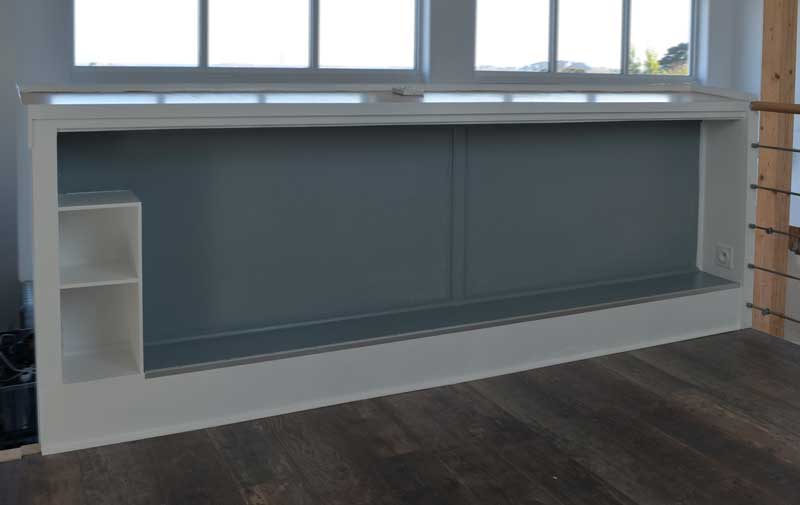
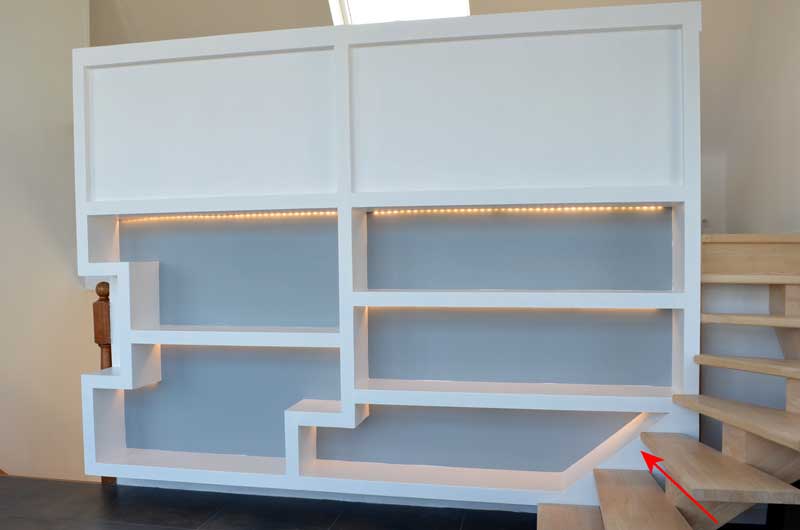
BUILT-IN LIGHTING
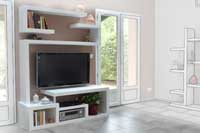
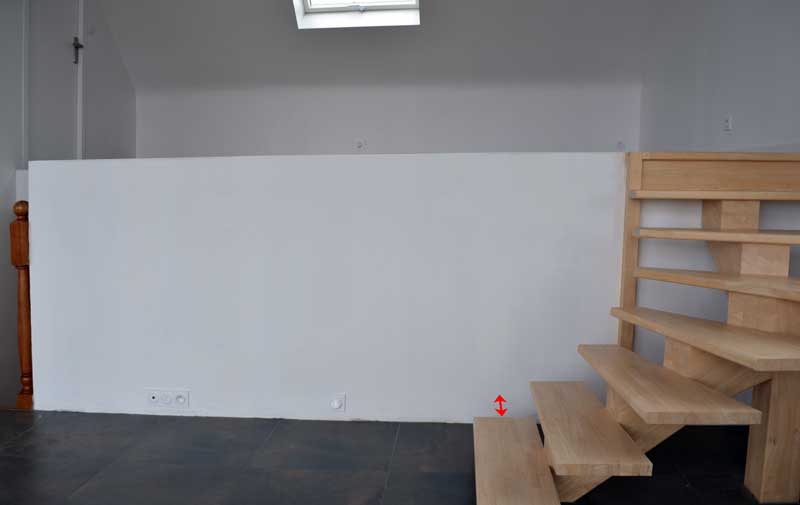 BEFORE
The mezzanine is at a height of about 1.40 m from the floor of the main room. A space of about 30 cm was left between the mezzanine partition and the first steps of the mezzanine to accommodate the bookcase.
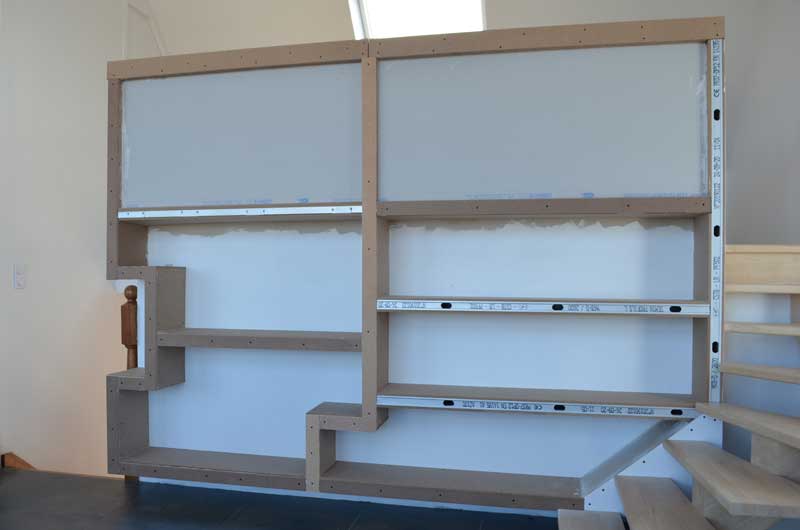
CONSTRUCTION STEPS
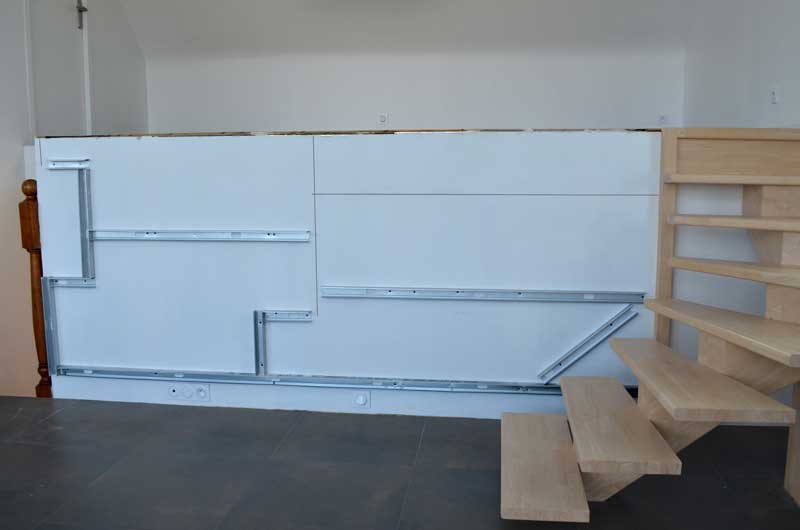
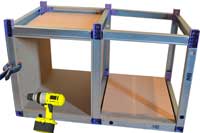
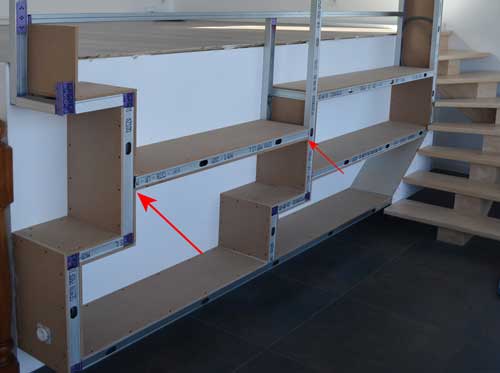
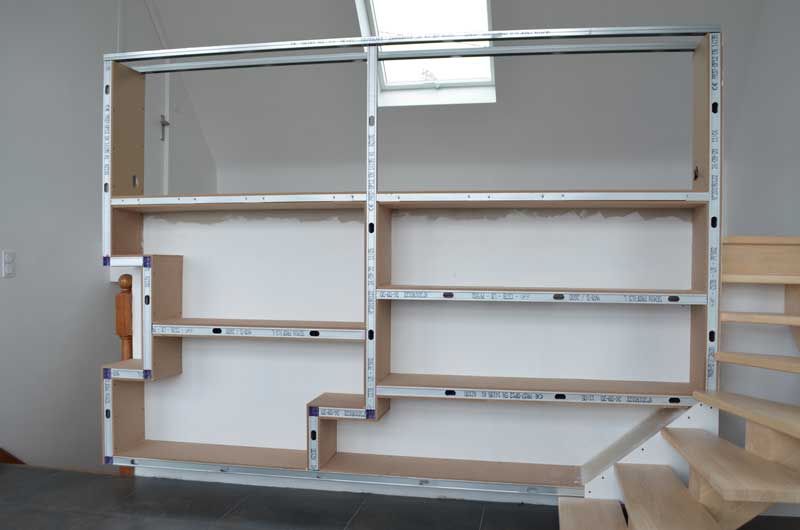
We start by tracing the outline of the bookcase on the wall and fixing metal C-studs on the imprint traced.
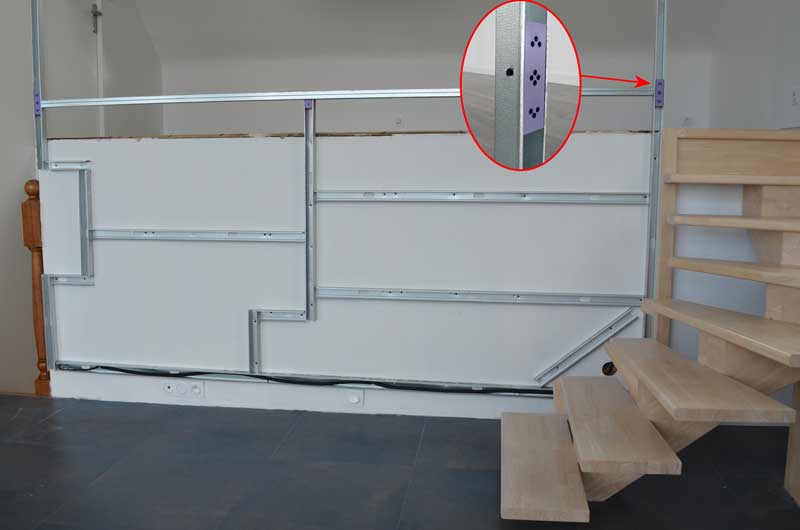
For solidity reasons, we drilled the vertical studs of the counter which allowed us not to cut them and keep them in one solid piece.
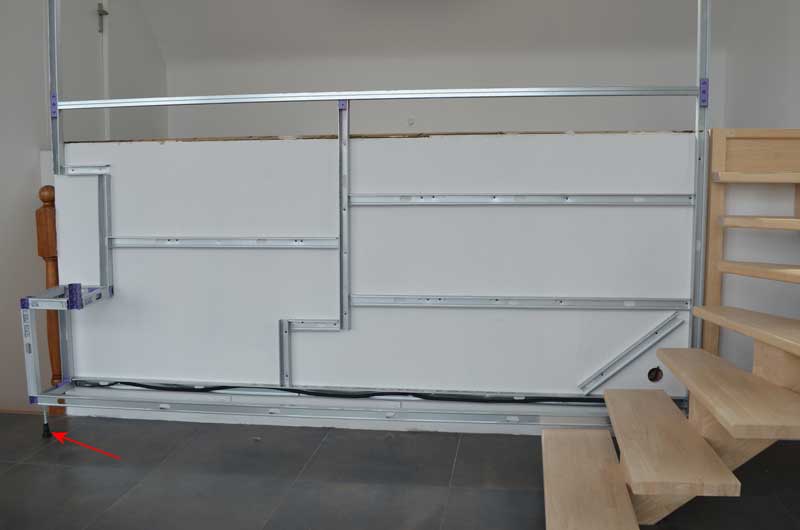
We begin to assemble the metal structure. As long as we haven't screwed the first panels, the structure is a bit "wobbly". To hold it in place, a small foot is temporarily positioned.
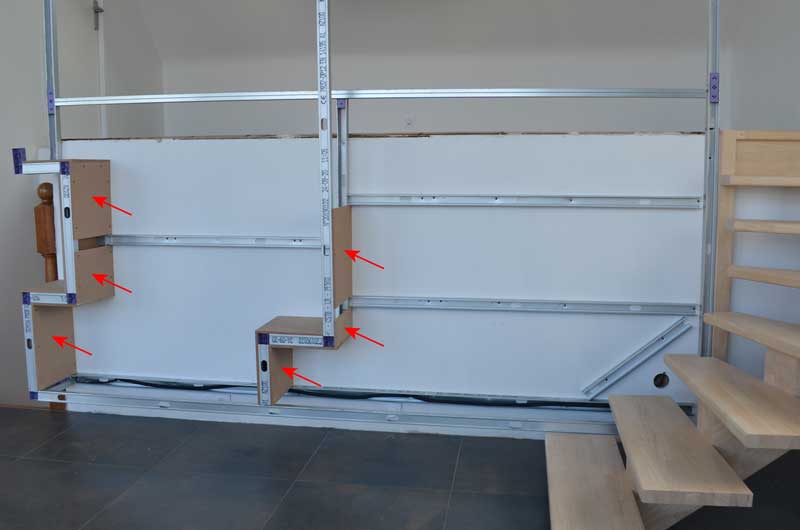
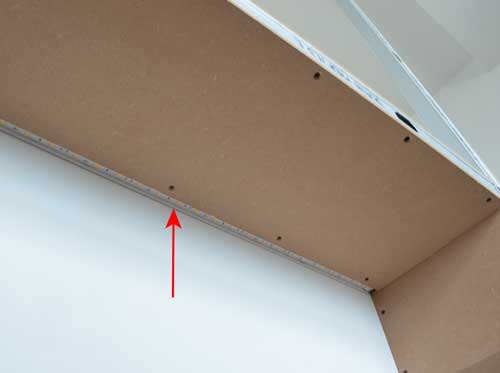
The first facing panels are fixed. It is these vertical panels (and the C-studs to which they are screwed) that will firmly hold the bookcase. It is important to fix them securely to the wall.
We assemble the structure and we fix the panels as we go. The recesses in the C-studs and between the panels allow us to run all the cables for the electrical outlets and the LED strips.

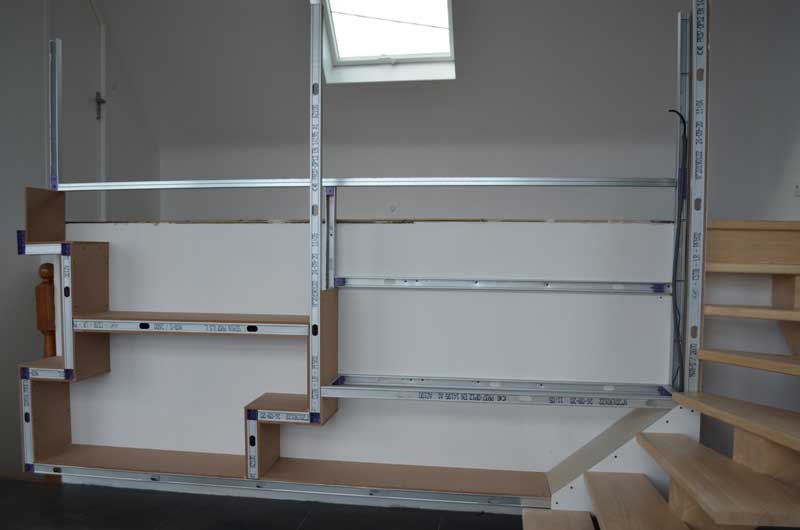
On the last shelve, we created a small step for the counter. We use large spring clamps to hold the panels in position, we adjust the levels and we screw once everything is well adjusted.
We continue the assembly by progressing from top to bottom. Nothing very complicated here, just need to be precise in cutting and positioning the panels as explained in our learning section.
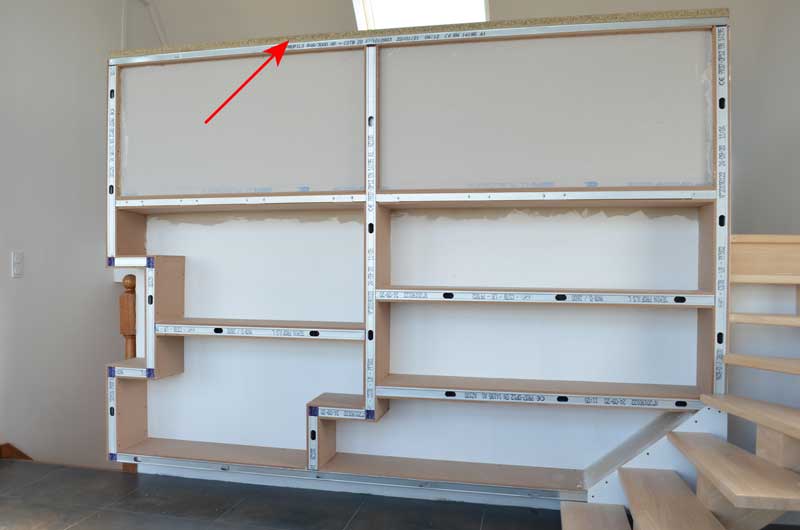
We install the worktop of the counter and install the last 2 panels.
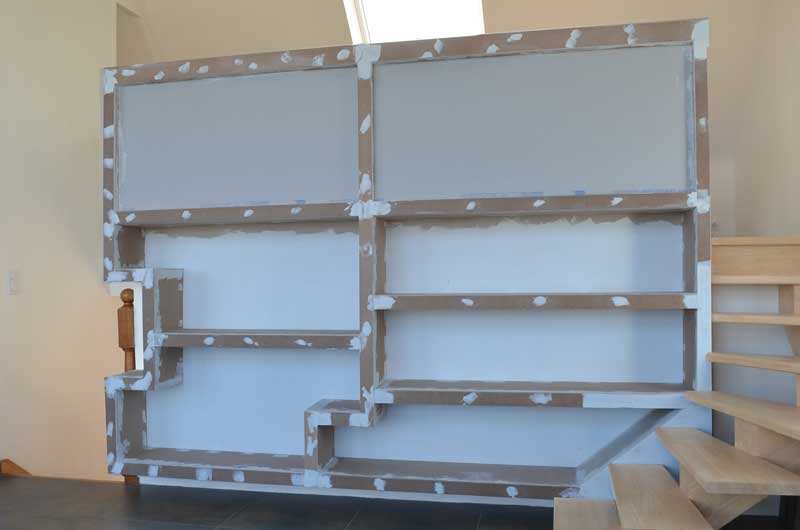
We fill the screw holes and other irregularities with wood filer, sand the construction then apply a finishing compound.
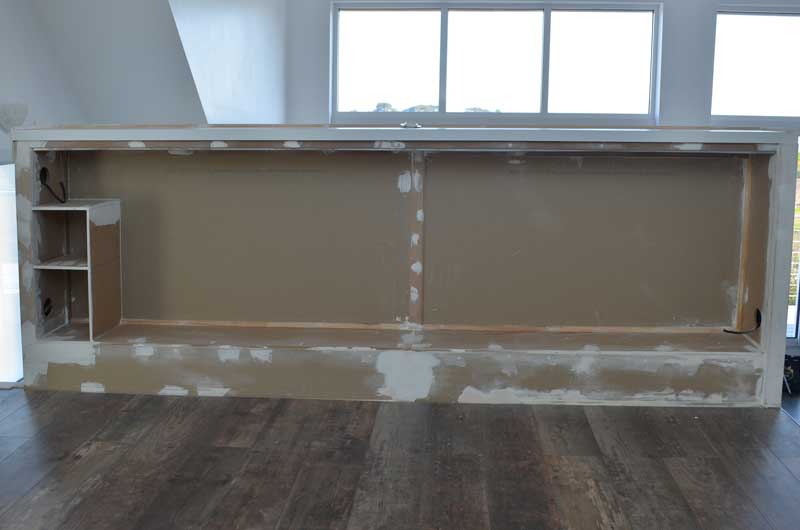
Ditto on the mezzanine side for the interior of the counter. Note the small step created previously and the cable inlets for the electrical outlets.
Light sanding before applying a coat of primer paint on the whole then two coats of finish.
To make the whole thing stand out, the bottom of the shelves has been painted with a slightly dark gray.
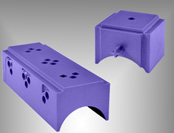
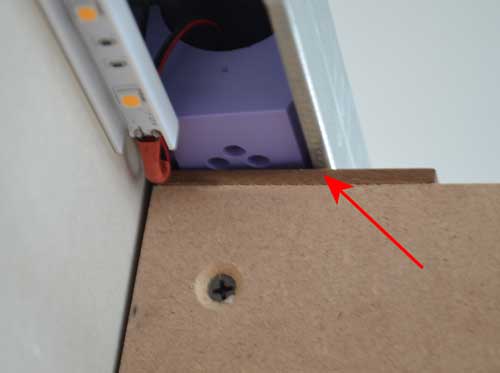
The electrical cables of the LED strips converge in the samll box at the level of the stairs. The LED lighting controllers and power supplies have been installed there.
Details
The construction is mainly made of 10mm medium.
It is not attached to the floor or to the stairs. It is nevertheless very solid and will easily support heavy objects (see photo). Solidity is provided by the vertical studs and panels firmly fixed in the wall.
A LEDs strip is installed on the upper part of each shelf as well as under the bookcase.
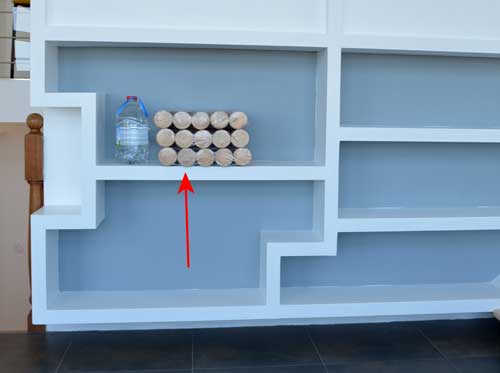
Strength test: 15 logs + 3 liters of water =33kg
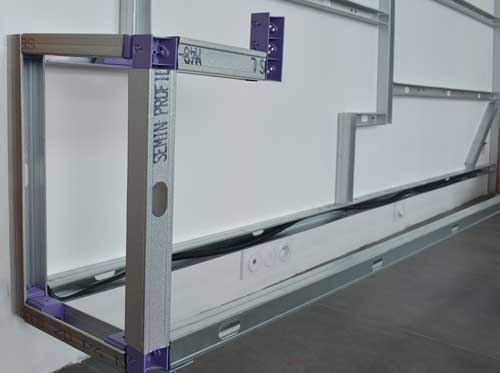
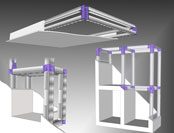
Structure assembly details.
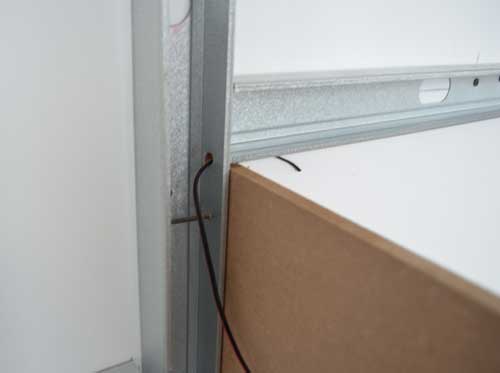
The electrical cables are run in the hollow of the studs and between the panels. We drilled the studs fixed to the wall to run the cable of the strips of LEDs.
The LED strips are installed in a U-shaped PVC. The horizontale panels on top of the shelves completly hide the strips
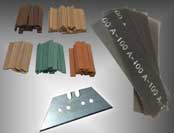
Material
- C-studs for the metal frame.
- Long and small Kinook blocks to assemble the frame.
- 10 mm medium panels.
- Plasterboards for the bottom of the counter.
- Melamine worktop (thickness 4cm).
- U-shape strips for the LEDS (width: 1 cm, hight: 1 cm).
More ressources
|
|