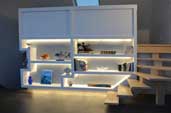
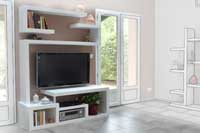
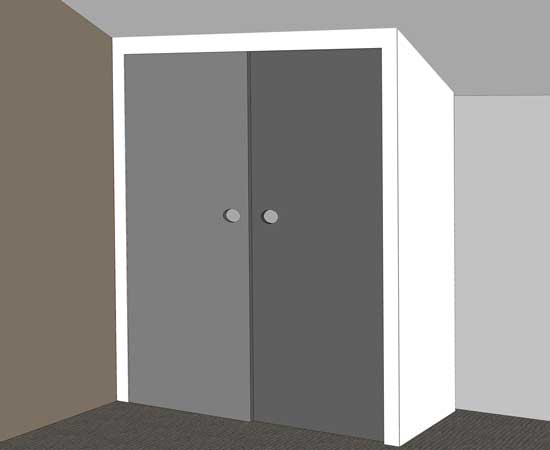
BUILD A CLOSET
A large storage space from floor to ceiling, no wasted space. Even on a sloped ceiling or under a staircase, the construction is simple.
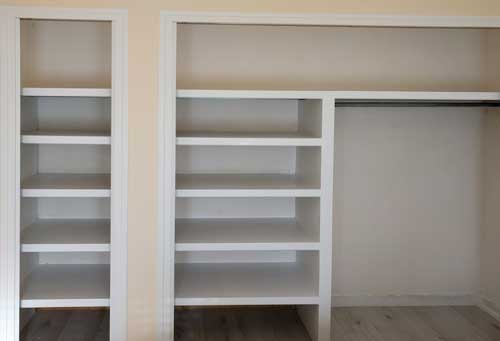
Create shelves, and adjust the dimensions to your needs.
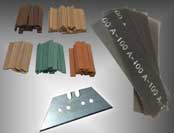
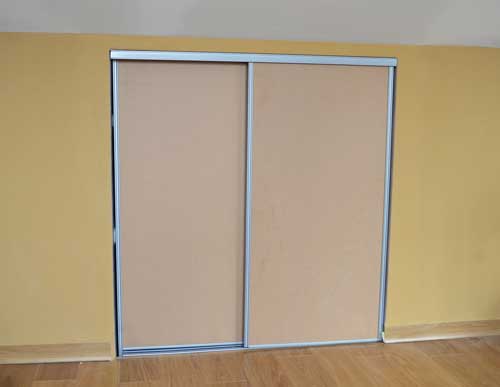
For finishes, sliding doors can be installed, available as a kit, doors can be cut if necessary.
OPTIMISE SPACE FROM FLOOR TO CEILING
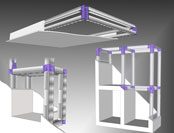
Layout
The plan represents a construction on a sloped ceiling. For a straight construction, the technique is simpler, the vertical studs are crimped to the ceiling track stud, as on the lower part of the closet.
If necessary, a small piece of metal stud can be added to lower the height of the horizontal stud.
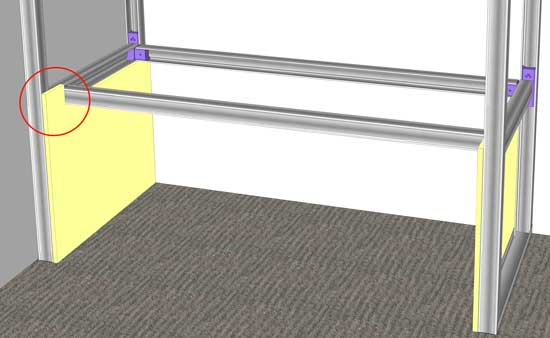
Leave a space between the shelves and the closet front for the sliding doors.
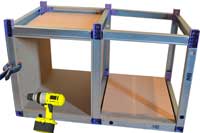
2 small blocks are used to assemble the shelves horizontal studs as per picture.
Track-studs are fixed on the floor and then crimped to the C-studs.
See details at Kinook for beginners.
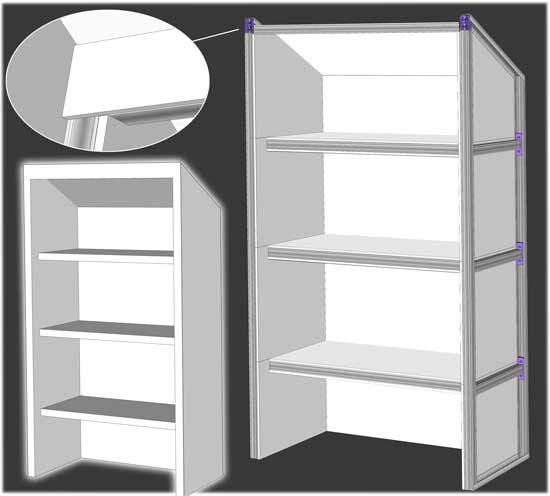
Shelves structure details
Construction steps
Constructions with the Kinook system are built from the bottom up:
- Fix the studs into the wall.
- Assemble the bottom level of the metallic structure.
- Adjust the space between the shelves and the closet front to allow enough room for the
sliding doors.
- Cut and fix lower panels (yellow on picture on the right).
Note: These panels are key as they secure the entire structure once screwed into the studs. They not only strengthen the structure, but also support its entire weight. Make sure you size these panels properly and choose the correct material
(wood, plasterboard etc ...).
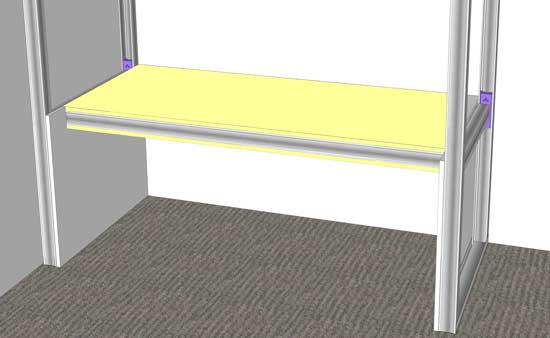
- Install the shelf's horizontal panels.
Note: Wood can be used for the shelves top panel (support heavy weight), plasterboard can be used for the lower one (underneath the shelves).
- Build the next levels in the same way.
- Place the upper panel.
- Place the side panel.
-
plug holes, sand, paint. see page finishing . - Install sliding doors ot curtains.

download the plan
See also
custom closet layout
sloped ceiling closet
|
|