Create a custom closet layout
Easy to build with a minimum of holes to drill in the walls.
The metal stud used to build the shelves provide solidity and prevent the shelves from sagging.
3D View
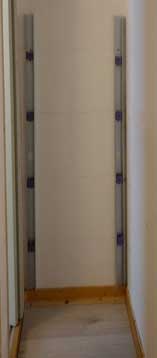
Only the two left side vertical studs have been screwed into the wall. Every other C-stud is assembled to the structure with 2 small Kinook blocks.
|
|
|
Slide small kinook blocks into the 2 vertical C-stud (One per horizontal shelf). Screw the 2 C-studs onto the wall.
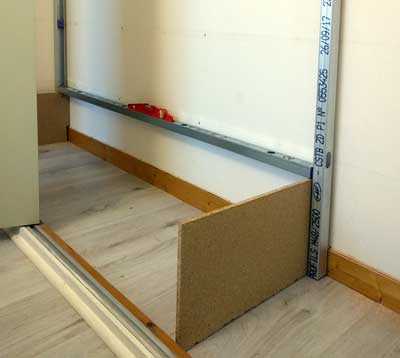
Create the lower part of the metallic structure, adjust levels and screw the first panel as per above picture.
|
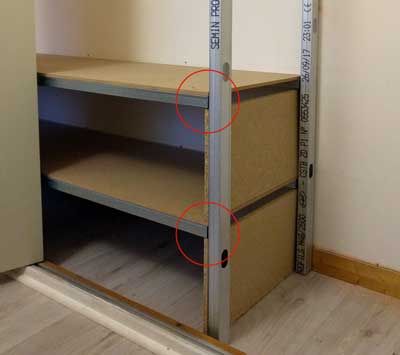
Continue building the shelves one after the other.
For maximum solidity, make sure to place the vertical panels against the horizontal studs.
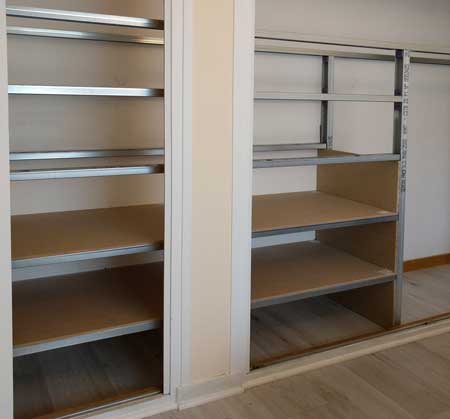
The horizontal studs for each shelf are made in one piece.
Note that in this example, the lower parts of the shelves were not been covered with panels (as not visible).
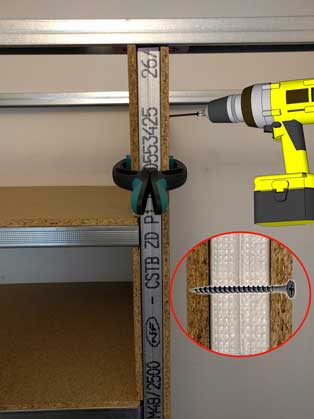
Tip: we use screws long enough to pass through the first panel board plus the thickness of the stud, but not beyond the second panel board.
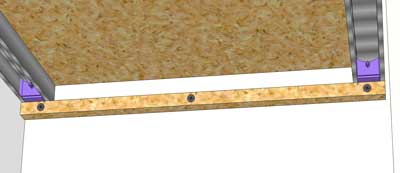
A small Kinook block has been slid at the end of each of the 2 long studs at the right side of the closet. They improve solidity.
To band the edges, we have screwed white medium slats on the metallic structure.
Option
The structure can also be constructed with lining channel (thinner than the C-studs). In this case, mini-blocks will be
used to assemble the channels together as shown below.
Hint
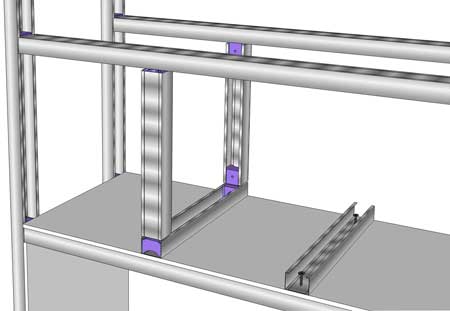
Create shelf separators
See also
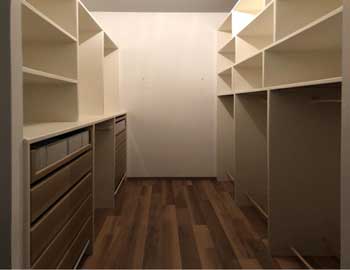
Build a closet
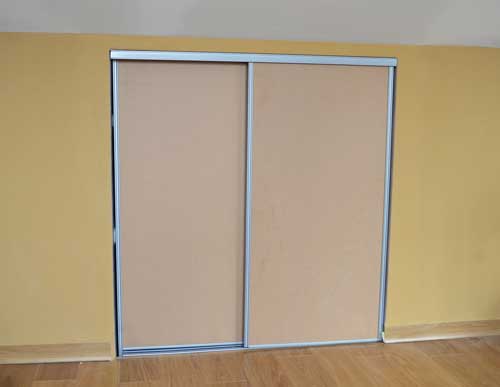
A sloped ceiling closet
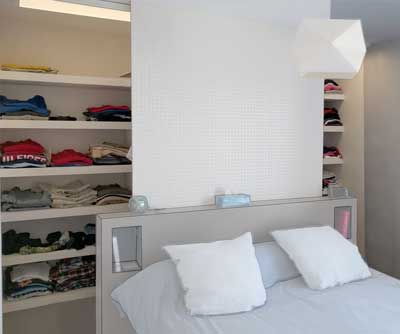
A bedroom closet
More Ressources
|
|