HOW TO BUILD A HEADBOARD
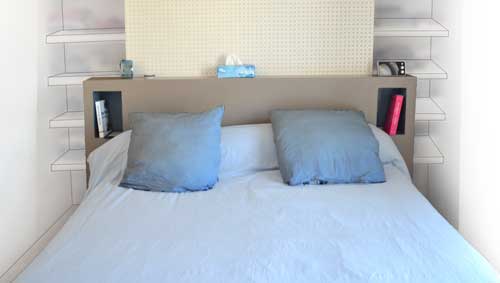
This headboard is easy to build and will give a modern and cosy touch to any bedroom..
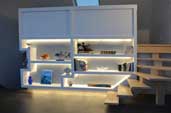
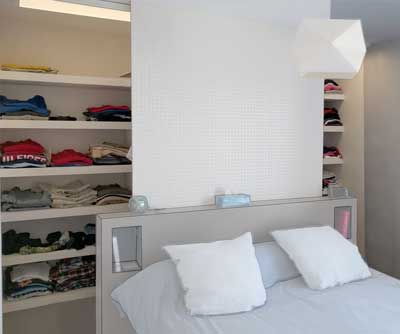
The shelf space on top as well as the twin nooks on either side will be perfect for your alarm clock, books and other belongings.
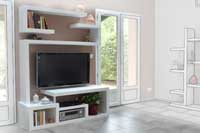
A MODERN AND COSY ROOM
The space left between the headboard and the wall is intended for a closet with two independent clothes racks and several shelves. The possibilities are endless: add
integrated lighting and match the colours and textures to the rest of the room.
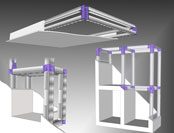
Get inspired from our blueprint and adjust the dimensions to your own bed and bedroom. 3D View
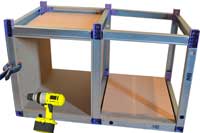
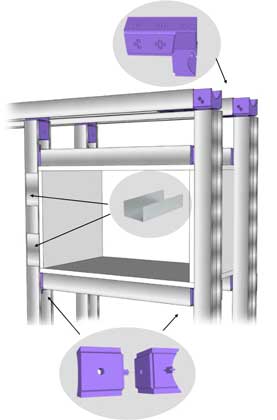
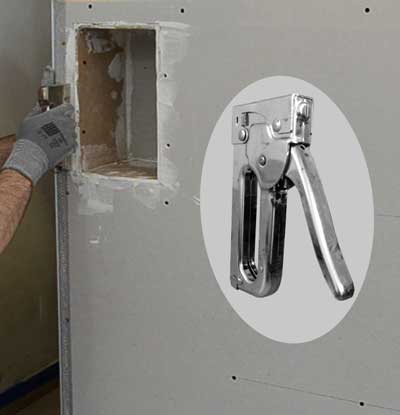
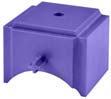
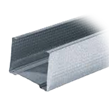
The structure is made up of metallic studs assembled together with Kinook blocks. These are crimped onto two metallic track
studs screwed onto the floor. The whole structure is dressed with plasterboard panels.
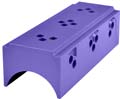
The two small nooks will serve as nightstands.
They are made with 6mm medium boards, a sturdier material than plasterboard. The head board is positioned around 90 cm away from the wall behind, providing enough space to build a closet. See the blueprint
for more detail. Don't forget to string cables through and to equip the headboard with 220V or USB plugs, and the lighting of your choice.
Step by step construction
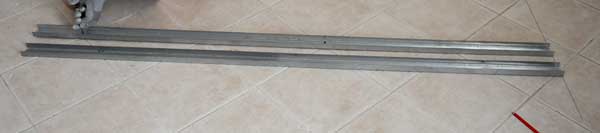
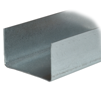
Start by drawing the headboard outline onto the floor. Screw two metallic track studs onto the floor.
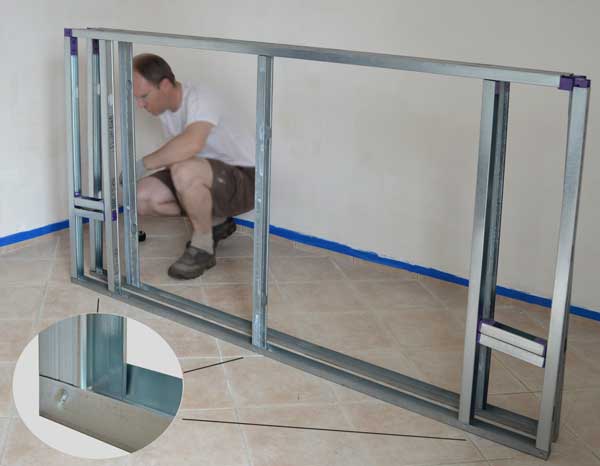
The vertical C-studs are crimped to the track studs on the ground. Then, assemble the structure using C-studs and Kinook blocks. The structure will still be loose and can be adjusted by sliding the blocks inside the studs.
The structure will be nice and sturdy once the panels have all been screwed on.
More information on assembly technique for metallic structure.
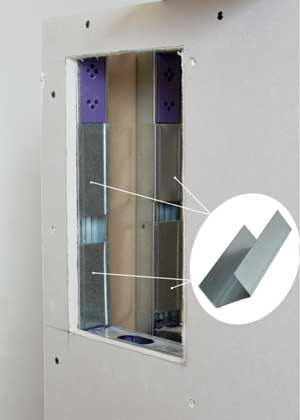
The studs for the nooks will be put into position once the rest of the structure is in place.
The metallic structure is covered with plasterboard panels. Any other material such as medium can be used.

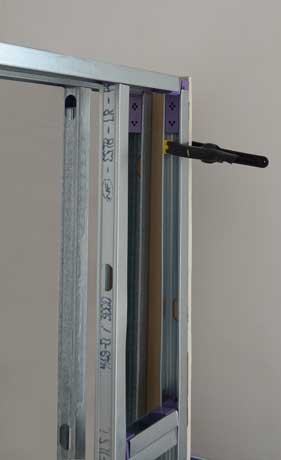
Start by mounting the plasterboard panels on the side by positioning them against the structure. Carefully level the structure and keep the boards in place using clamps before screwing everything into
place.
Adjust the metallic structure so that it is flush with the boards. The final dimensions of the construction rests entirely on the panels: this is why cutting the panels very precisely right from the start is very important. More
details on Kinook building techniques page.
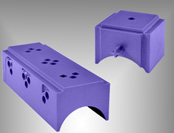
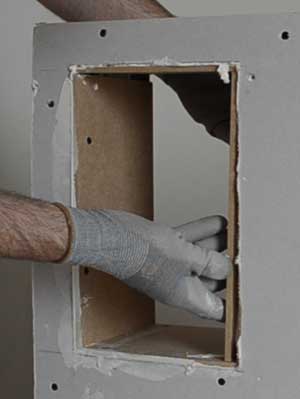
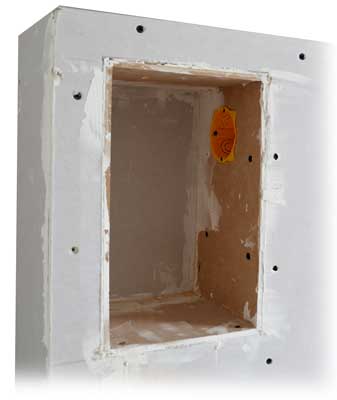
Creating the nightstand nooks
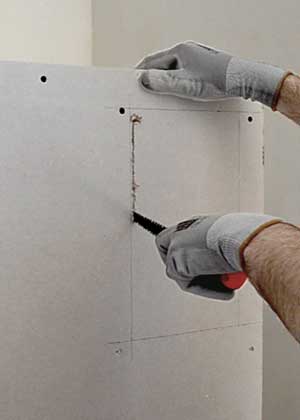
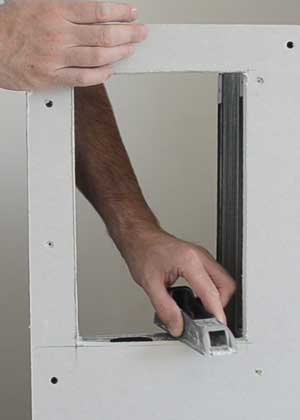
Cut the openings for the nooks directly into the headboard plasterboard using a jab saw.
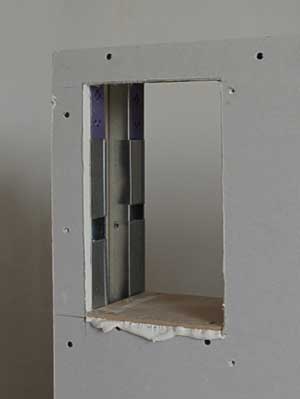
The nook is created with 6mm thick medium panels. Unlike plasterboard, the medium will not dent and scratch. Also, with medium, the angles of the nooks will not need to be reinforced.
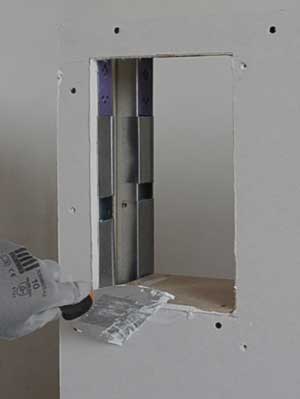
Before installing the medium boards, lather the nook in plaster (or plasterboard glue) and scrape off excess once all boards are screwed into place. This gives the junctions a nicer finishing.
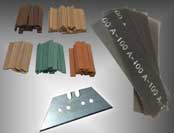
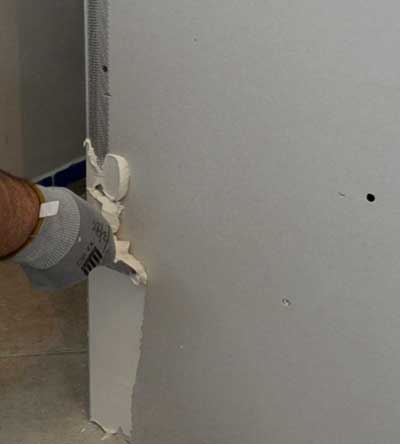
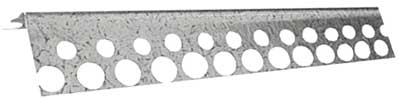
Corner bead
External Corner Bead is used to strengthen each side of the headboard. Staple them into the plasterboard panels then apply compound.

Plug the holes with wood filler (MDF) and plaster (plasterboard), sand then apply a finishing compound before painting.
Construction details
Don't forget to string cables through the structure to equip your closet with lights and sockets
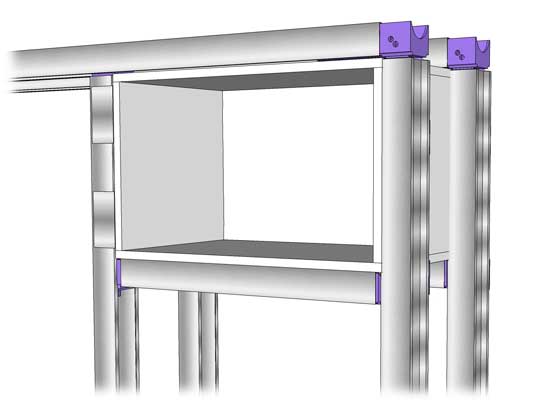
The nooks can be created directly on the structure frame as per picture below.
See also
Build a bedroom closet
More Ressources
|
|