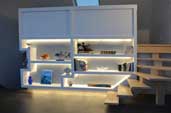
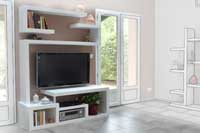
Build a niche
This tutorial shows how to build a niche in a new or existing plasterboard wall.
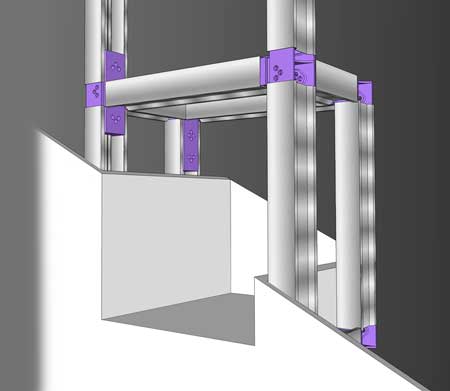
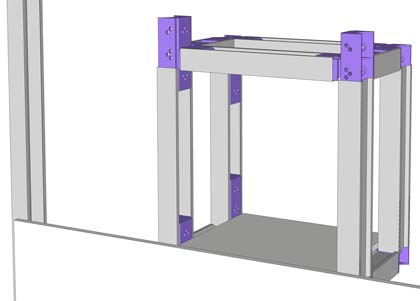
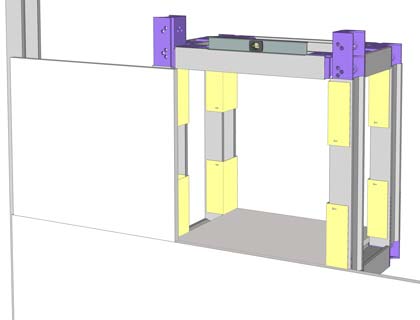
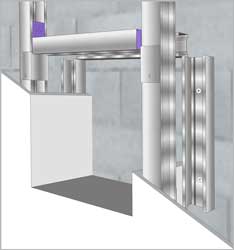
As there is no need for a rear wall, a complete metallic structure is created instead.
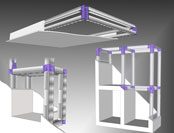
3D View
 |
 |
 |
 |
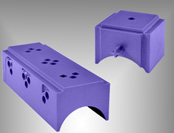
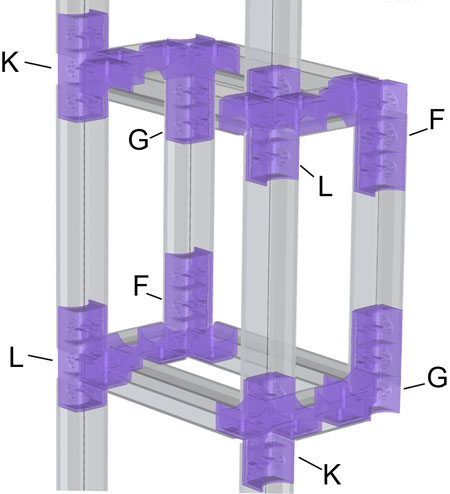
| Create shapes F, G, K and L by assembling small and long Kinook blocks as per picture above. |
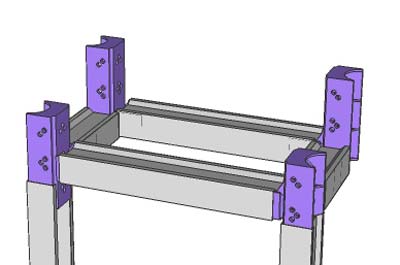
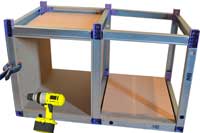
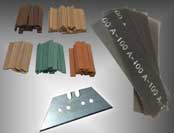
Cut the metallic C-studs at the desired dimension for your nook.
Create the lower portion of the metallic structure with your F, G, K, and L shapes and studs.
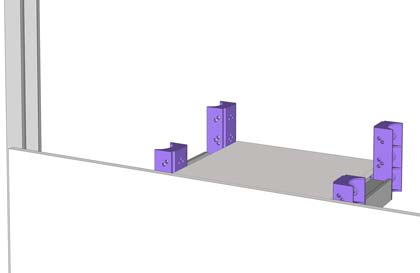
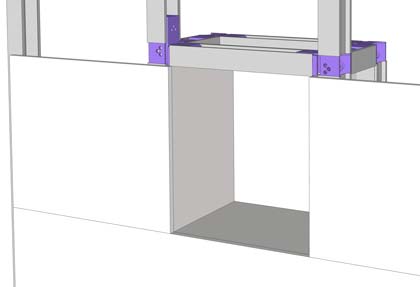
Verify levels. When correct, fix the nook's bottom panel, and the wall panel underneath the nook.
Verify levels. When correct, crimp small metallic tracks (yellow on picture) to secure the structure and to create a support for the vertical panels.
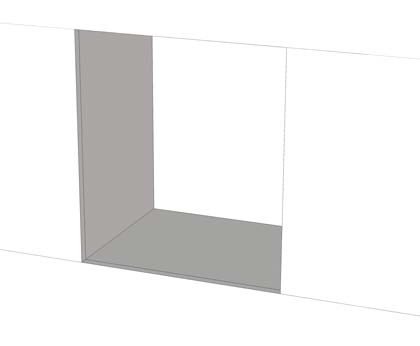
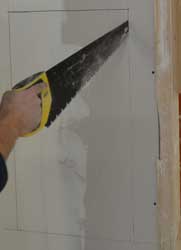
Install a panel on the side of the nook.
Check levels. When correct, fix the vertical panels inside the nook.
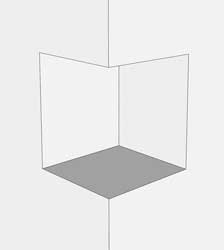
Install the remaining two vertical studs at the top of the nook.
Install the remaining panels.
TIP: Apply some acrylic wall sealant on the edge of each panel before assembling. Remove excess when assembled.

download the plan
See also
Angle niche
Niche with a rear wall
Create a niche in an existing partition wall
|
|