BUILD A DRAWER
Strong and very easy to build with basic tools. The drawer sides are made of lining channel assembled with mini-blocks.
Just cut a plywood the size of the drawer and screw it onto the metallic frame.
3D Vues
Construction steps
Cut the metallic studs
The dimensions of the drawer are given by the base plywood. Here are the lining channels dimensions. More details on how to size the studs.
Cut 4 lining channels :
- 2 lining channels: drawer length minus 4 cm
- 1 lining channel : drawer width minus 4 cm
- 1 lining channel : drawer width
Assemble the frame
inser a mini-block at each side of the lining channels and assemble the metallic frame as shown on the pictures.
Attach the plywood base
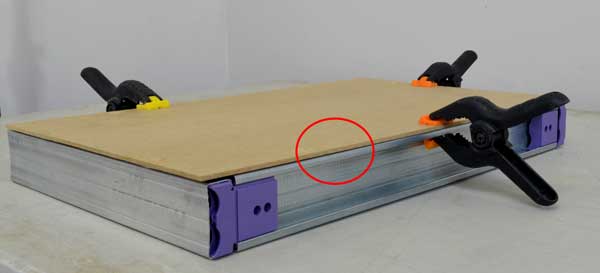
Position the plywood base on the frame. Adjust the frame so that the plywood is flush with the metallic frame. Secure with pliers.
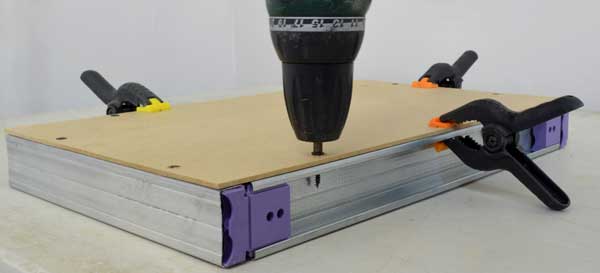
Screw the plywood into the frame.
Note: make pre-holes if necessary to hide the screw heads
Options
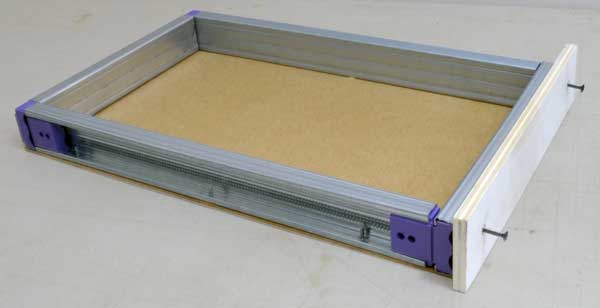
Attach the face plate.
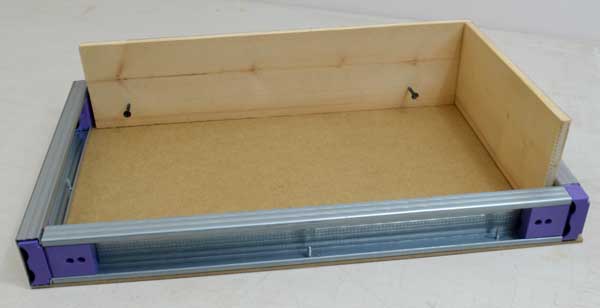
For higher sides (or better finish), simply fixed plates onto the metallic frame.
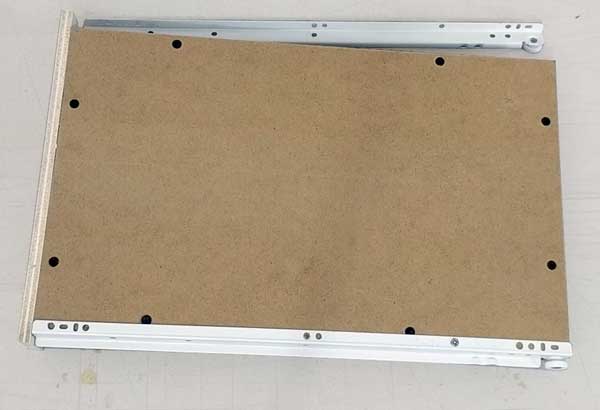
Here we have used bottom drawer runner mechanism. There are different models of mechanism, some have bearing or attached to the side, etc.
Example
A large drawer for bathroom storage cabinet
To make this large drawer, a 10mm thick plywood plate was used for the bottom. Two notches were cut in it to let the water supply and drains pass through.
The sides of the drawer are made with lining channel and mini Kinook blocks. The runners (full extension) are screwed directly into the side lining channels.
The front panel is held by the 2 screws of the handle. For more rigidity, a plate has been added which is positioned and glued against the front face and resting on the front lining channel.
MORE RESSOURCES
Video tutorial
|
|