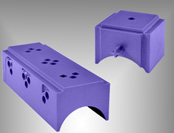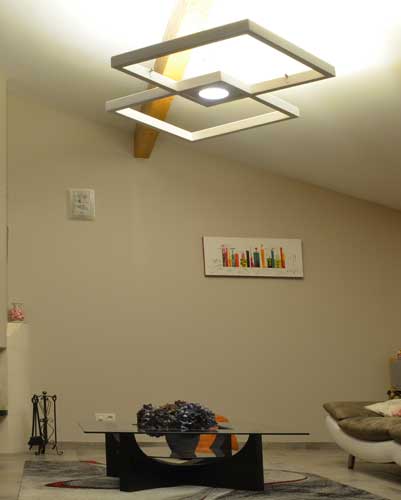
MODERN SUSPENSION LIGHTING
Large geometric light fixtures
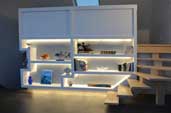
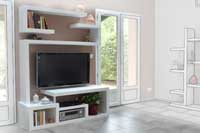
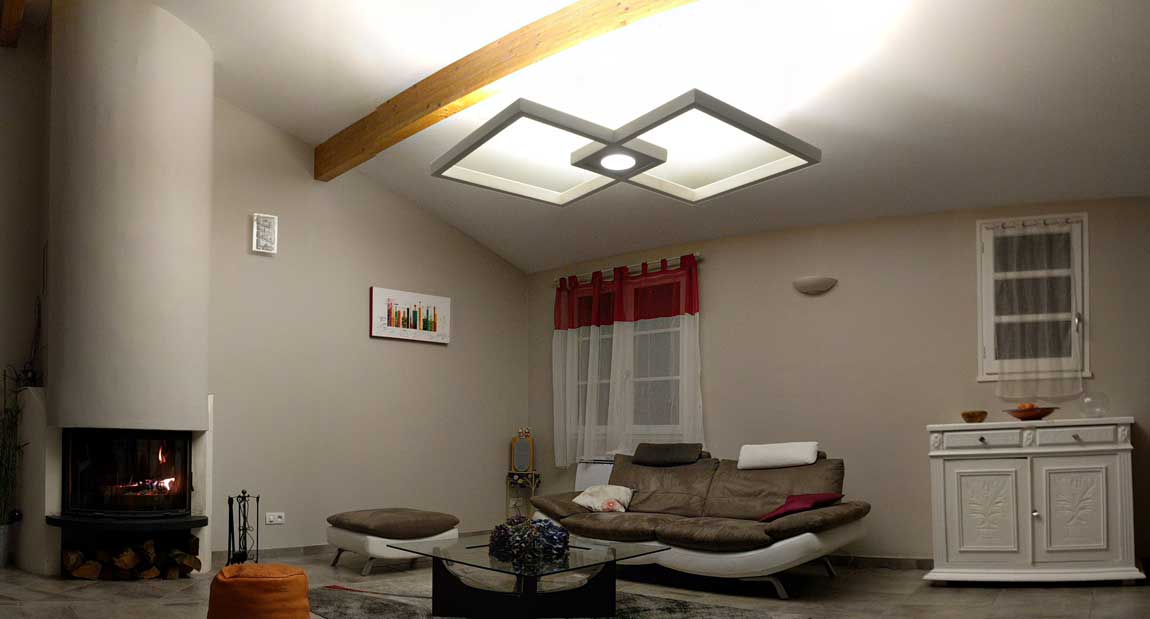
Illuminate your interior with contemporary suspension lighting.
The geometric shapes add a modern twist to any room, and a harmonious distribution of light.
LED lighting installed along the sides of the light fixtures diffuses soft indirect lighting towards the ceiling.
The central spotlight provides direct light to illuminate a table or reading area.
The intensity of the LED lighting and the central spotlight can be adjusted with a remote control.
 |
| Attention, construction can get a little delicate as it is necessary to bring
a very particular care to the cuttings of the plates which will have to be very precise to succeed in this diy project |
| Download the plan for detailed panels dimensions and electrical wiring diagram. |
 |
Dimensions
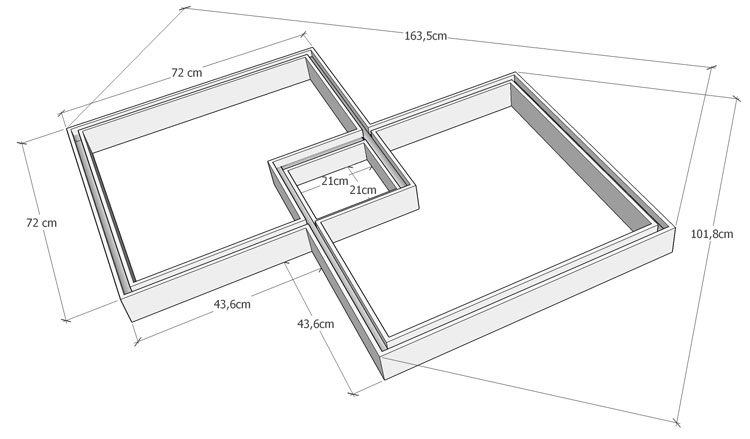
3D view
STEP-BY-STEP INSTRUCTIONS
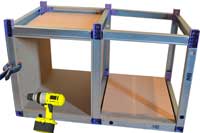
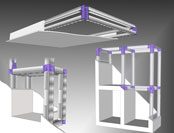
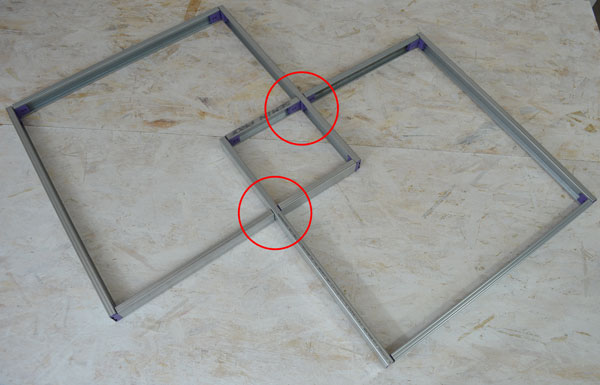
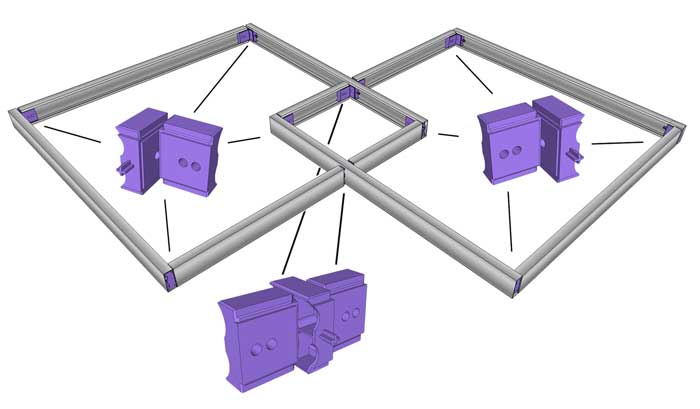
Assemble the metallic frame
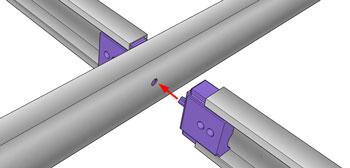
Once the metallic wall studs have been cut to the desired dimensions, they are easily assembled using the Kinook blocks
- see detailed plan here. This creates the metal frame of the suspension.
Drill 8mm hole into the central metallic studs to insert mini Kinook blocks and create two intersections.
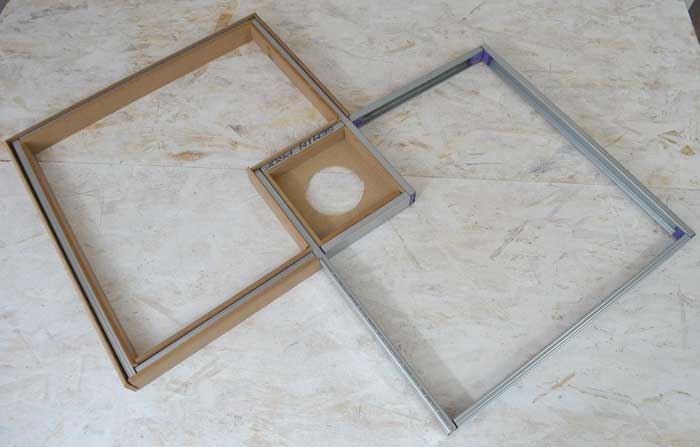
Mount the Panels
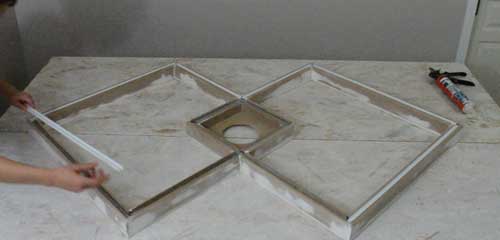
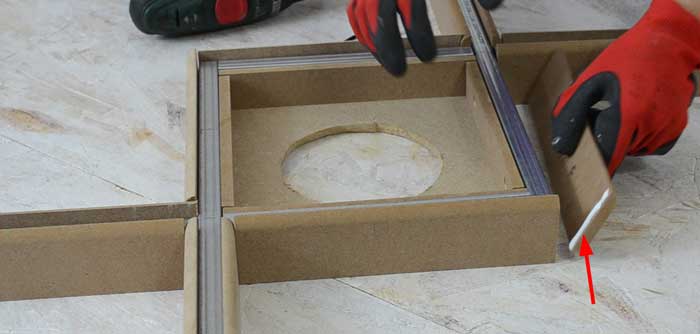
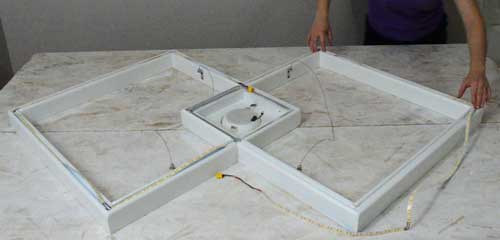
Position the center board that will house the large spotlight and install all side panels inside and outside the metal frame.
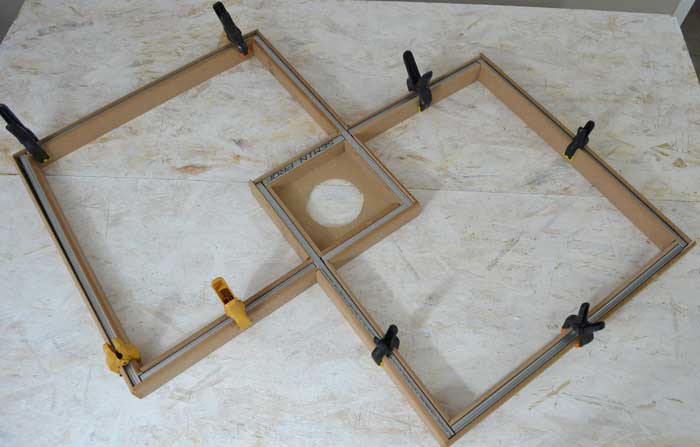
Hold them in position with clamps.
Note: the panels protrude slightly by a few millimetres, this is where the LED strip will be installed.
Glue the panels as in photo above.

Use 35 mm screws to simultaneously mount the 2 panels on each side of the metal frame.
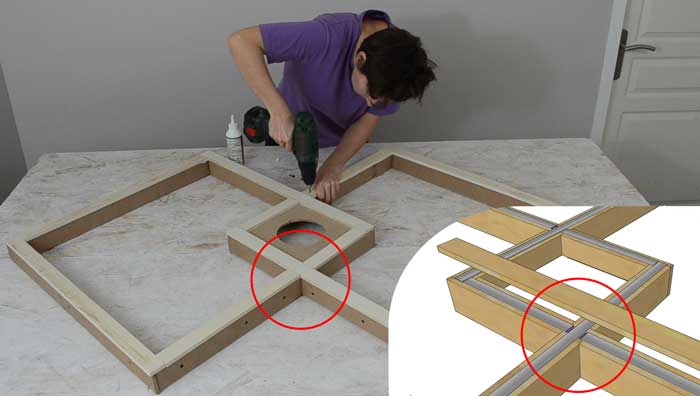
Once you have mounted all the panels, flip the construction over. Glue the bottom panels to the frame and screw them in securely. To solidify the construction, mount a single panel over the metal intersections.
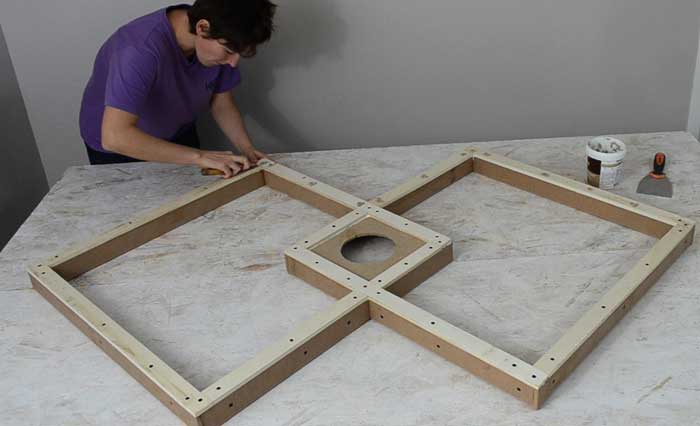
Plug holes with wood filler.
Finishing
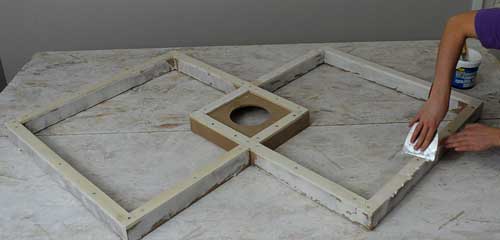
Apply a finishing compound.
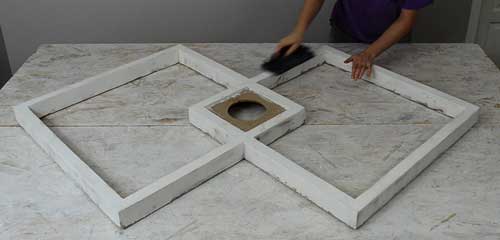
Sand.
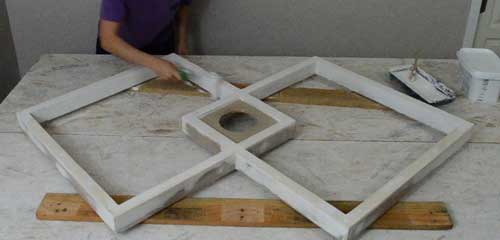
Paint.
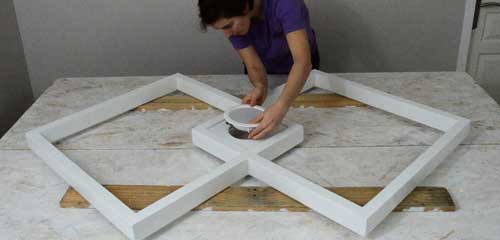
Install the large central spotlight.
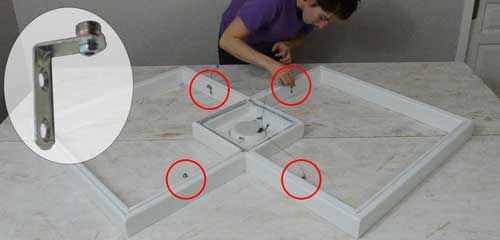
Install the suspension cables. Here we used small brackets that we screwed into the inner sides of the suspension.
ELECTRICAL
Install the LED strip inside the U-shaped plastic strips.
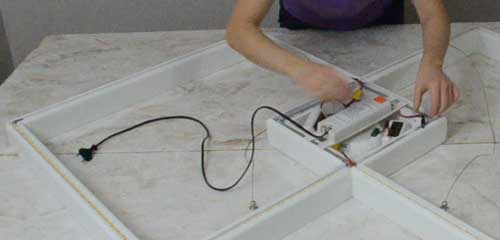
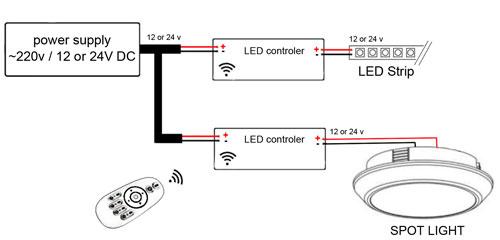
Connect the power supply and the LED controllers.
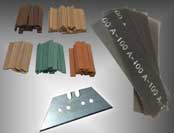
MATERIAL USED
Panels
In our construction, we used 6 cm MDF panels.
Plywood is a viable alternative, both stronger and lighter than MDF.
U-shaped strip
The U-shaped plastic strip used in this example is 1.5 cm wide and serves to electrically insulate the LED strip from the metal frame.
It is also possible to use aluminium LED strip profiles - in this case it will not be necessary to install the plastic strips.
Depending on the width of the aluminium profile, it may be necessary to adapt the plan, as the width of the trunking where the LED ribbon is positioned is 1.7 cm wide (width of the wall track).
LED Lighting options
Preferably use an LED strip and spotlight of good light intensity.
In our construction, we used a a 18W spotlight and 5050 type LED strip of a warm white colour with a 60W power supply.
Ideally, the LED strip and the spotlight are connected to different LED controllers so their light intensities can be adjusted independently.
A multi-channel remote control allows remote adjustments to be made.
Possible alternatives include: multi-colour LED strips, several small spotlights instead of one large central spotlight or remote control from a smartphone or connected speaker.
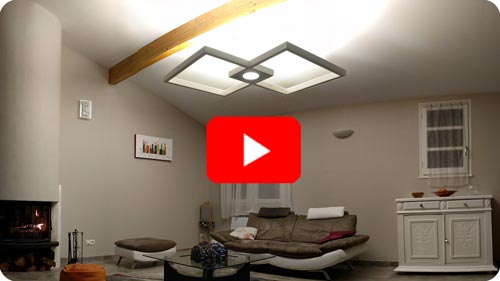
More ressources
Video tutorial
|
|